Entering a Timecard on a Mobile Device
If you are an employee creating or signing a timecard using the Linx Hours-To-Gross System, you will have the ability to do so using your mobile device. You will be automatically directed to a mobile-optimized version when accessing the website.
- Logging In to Mobile
- USER ID
- Enter your User ID. This User ID is not case sensitive. If you do not know or remember your User ID, please use the “Forgot User ID” option.
- PASSWORD
- Enter the Password you set up when you registered in the system. If you do not know or remember your password, please use the “Forgot Password” option.
- Once you have entered your User ID and Password, click on the Login button.
Entering a New Timecard or Editing an Existing Timecard
- Upon login, you will automatically be taken to the Process Timecard screen.
- Select the Project you are entering or editing timecard for. To select a different project than the default, click on the X then the Check Mark to display a list of all projects you have been assigned to.
- Select the Period Ending date by pressing on the field.
- To proceed to timecard entry, click on Go To Timecard
- Once in the timecard, click on a day to enter that’s day’s information.
- Hourly (Non-Exempt) Employees: You must enter IN and OUT, as well as your Meal Times in the appropriate fields for each day worked. To enter times, press on the field then use the scrolling time clock to set the time.
- Exempt (No Overtime) Employees: You simply need to change Work Type from “Not Worked” to “Worked” for each day that you worked.
- At the bottom of the Process Timecard screen, use the option Next Day to enter times for the following day, or click on Summary to return to the Timecard Summary screen in order to choose a different day.
 TIP: Once you are into another day, you can click on the Copy Yesterday button to fill in the in/out times from the previous day.
- When you are ready to submit and sign your timecard click on Submit Card in any of the screens.
- You will be asked to confirm the accuracy of the timecard. Click Sign and Save to submit your timecard.
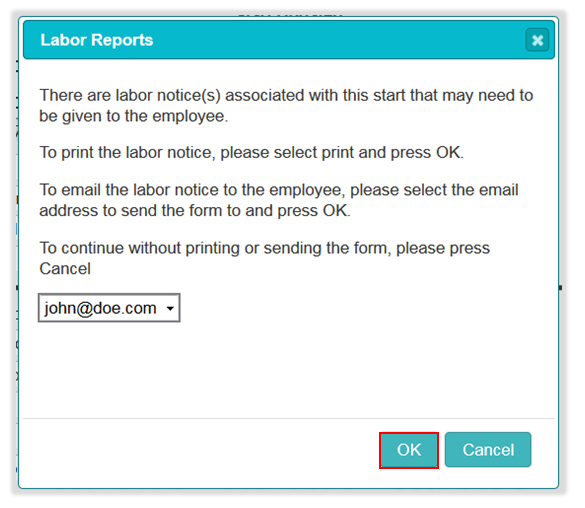
- You will be asked one final time to certify that the timecard information is correct. Click OK if everything is accurate.
- Your timecard will then be submitted. You will be able to make any changes needed to the timecard until it is collected by your approver.
Descriptions of Fields in Advanced Options (in Process Timecard Screen)
- Travel Only – Selecting this option under “Work Type” indicates you should be paid only for travel time for this day.
- Sick Day (Paid) – Selecting this option under “Work Type” indicates that you took a paid sick day.
- Half Day – Selecting this option indicates you have worked one half day and you will be paid accordingly.
- Holiday – Selecting this option indicates you should be paid for a holiday on which you did not work.
Timecard Allowances
- From the Timecard Summary screen you can select Edit Allowances to add kit rentals, per diems etc.
- Kit Rental — reimbursement amount for Kit Rental.
- Per Diem — the Taxable and Non-Taxable per diem amounts for the timecard.
- Miscellaneous — the total amount of miscellaneous reimbursement for the timecard.
- Other — the total amount of other allowances for the timecard.
- Mileage — Total number of miles driven and rate for timecard. The system will calculate the corresponding taxable and non-taxable mileage reimbursement amounts.