Add an Employee’s Start
Adding an employee’s start allows a time card to be processed for that project
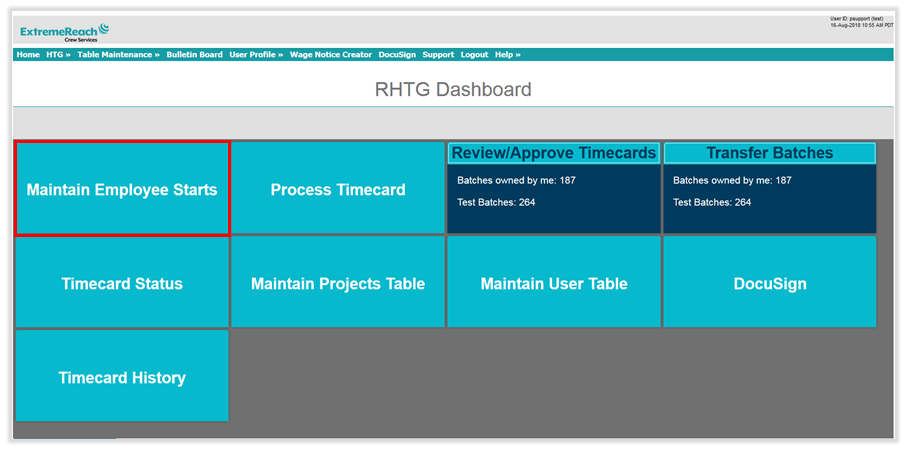
- From the Dashboard, click Maintain Employee Starts.
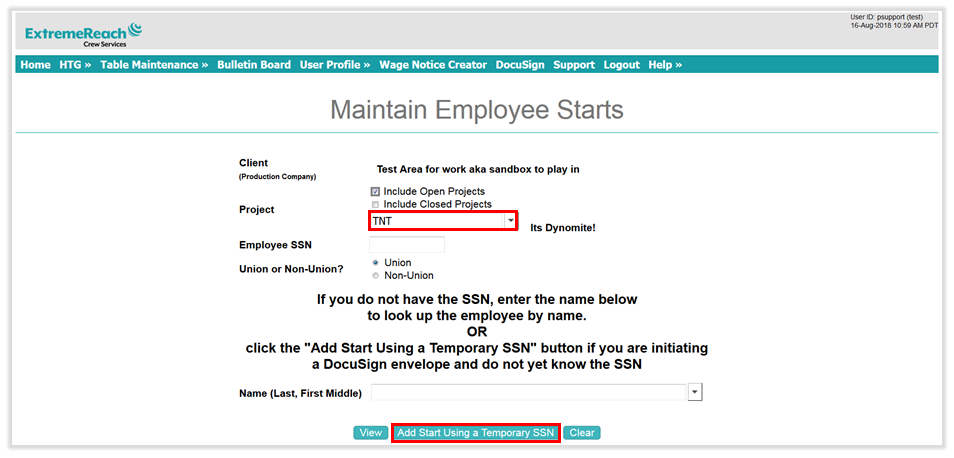
- In the Maintain Employee Start screen, select the Project the employee will be working on, then click Add Start Using a Temporary Social Security Number.
- In the following screen, enter employee’s Information. Required Fields are: Last Name, First Name and E-mail Address.
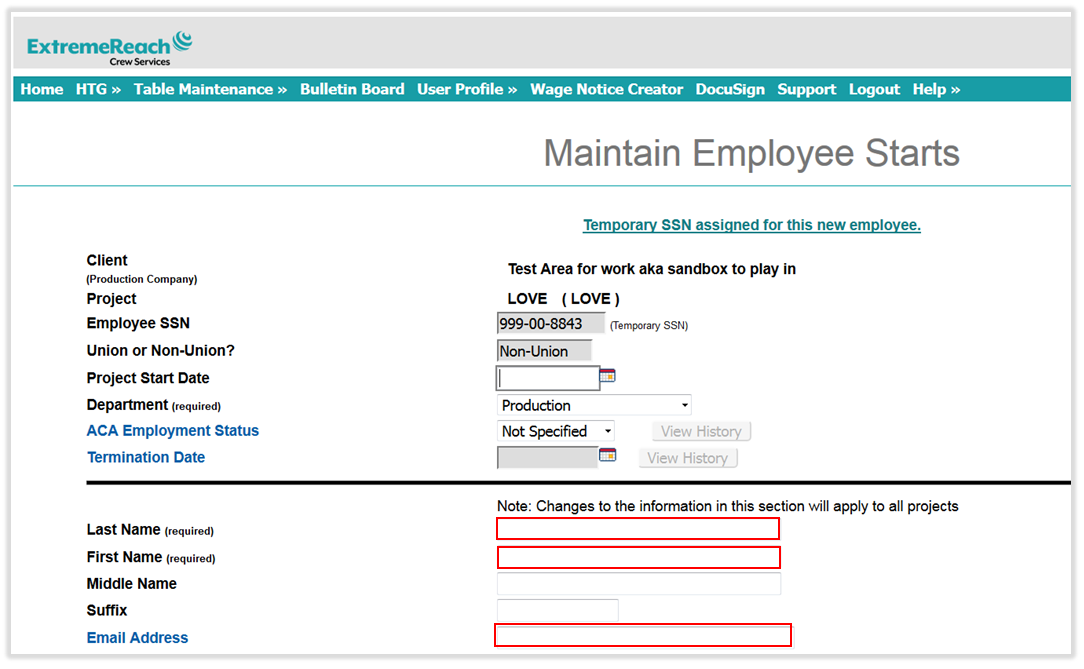
- If you are adding a Loan out, enter the Loan out Company and Federal Tax ID in the appropriate fields.
- Choose the Default Work Location for the employee’s time card. Entering a City is Optional.
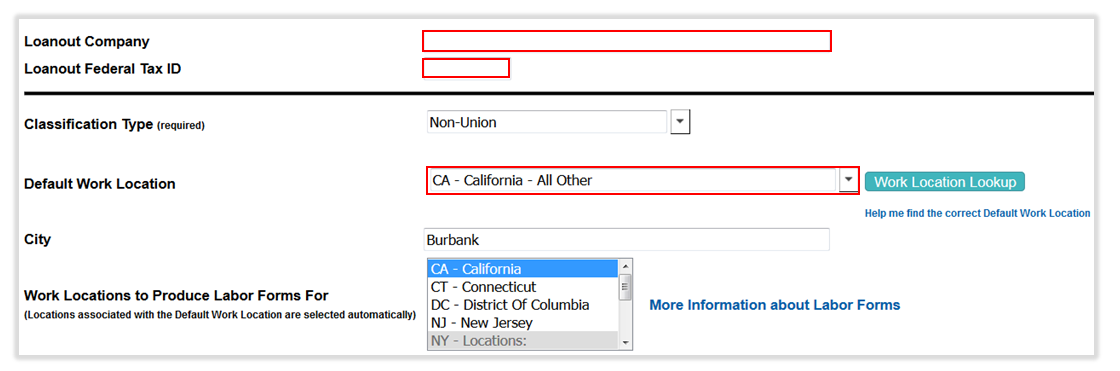
- Choose the Classification and Job Title from the drop down menus. If using budget codes, enter this in the Default BC field.
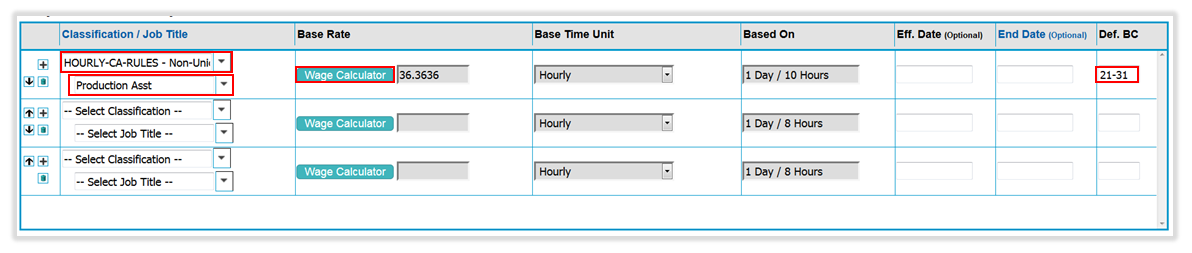
- If you are adding an hourly employee, click on Wage Calculator to set the hourly rate.
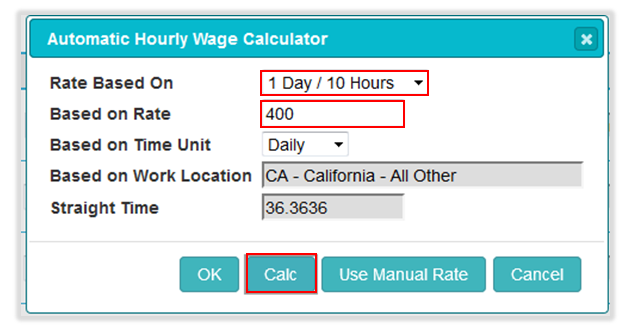
- In the above screen, choose the Guaranteed Day/Hours in the Rate Based On field, then enter the daily rate in the Based On Rate. Click on the ‘Calc’ button to set the hourly rate based on the work location’s overtime.
- If there are no Guaranteed Hours, choose “Standard Hourly” and enter the hourly rate in the Based on Rate field.
- If adding an Exempt employee, choose Weekly or Daily in the Base Time Unit drop down, then enter the amount in the Base Rate field to the left.

Send Employee Start Paperwork
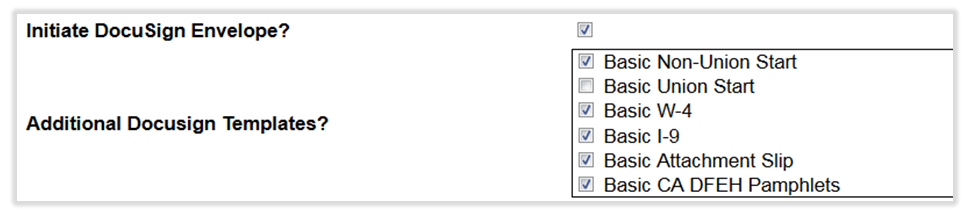
- You have the ability to send the employee start paperwork via DocuSign when adding their start.
- In the Initiate DocuSign Envelope section, choose which forms you would like to send to the employee by placing a check mark next to them.
- By default, the system will assign you as the first Employer signer, which is the I-9 approver. As soon as the employee completes their portion, you will receive an e-mail containing a link to approve the paperwork. If someone else needs to approve the I-9, enter their E-mail Address and Name in the appropriate fields.

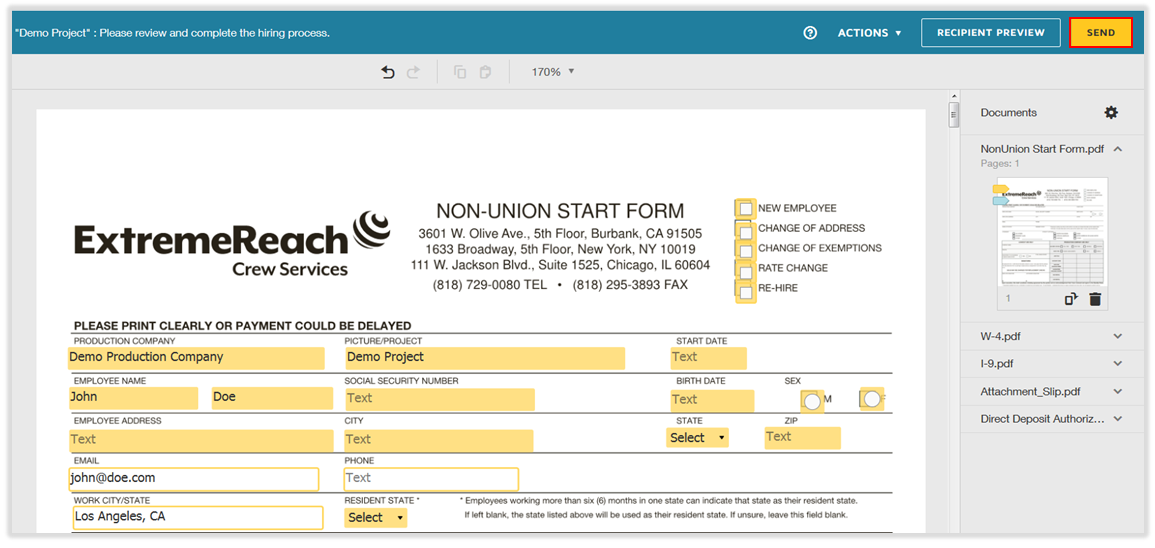
- Clicking on Add will add the employee to the system so that a time card can be processed, and generate the start paperwork in a new tab in your web browser.
- You will have the opportunity to preview the documents before sending to the employee. At this point you can verify the information is accurate and add any necessary information to the documents. Clicking on Send in the upper right hand corner will send the documents to the employee for them to complete.
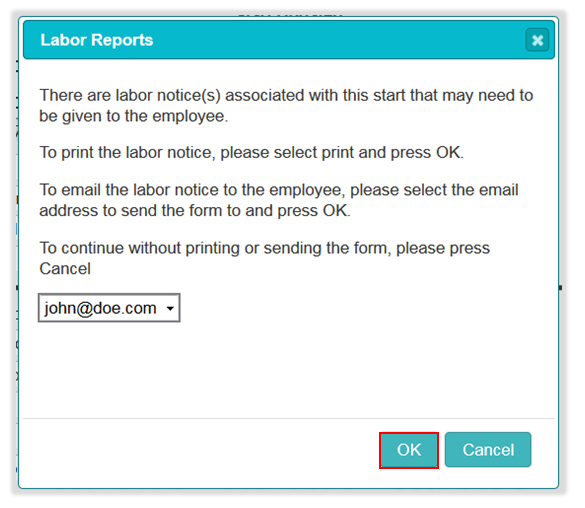
- When you return to the time card system, you will have the ability to e-mail the employee any state required labor forms by clicking OK in the Labor Reports window.